

How Reliable Water Leak Repair Prevents Expensive Home Damage
A small water leak can quietly spread beyond its starting point. Moisture can reach walls, floors, cabinets, and hidden framing. By the time stains appear, repair costs may already grow. That’s why early action matters for protecting your home.
Reliable water leak repair starts by finding the true source. Then, the right fix should stop water and limit further damage. This guide explains warning signs, repair choices, and prevention steps. You will learn how fast action protects both property and budget.
Water Leak Repair Basics: Causes, Warning Signs, and Lasting Solutions
A water leak rarely stays limited to its starting point. Moisture can spread behind walls, beneath floors, and around framing. Reliable water leak repair begins by finding the actual source. That matters because visible moisture may appear far from the failure. A lasting fix should address both leakage and its cause. It should also confirm that nearby plumbing remains in good condition.
What Reliable Water Leak Repair Really Means
Water leak repair means more than stopping visible dripping water. The first step involves locating where the water actually escapes. Next, the failed pipe, fitting, valve, seal, or connection needs evaluation. The repair method should match the failed part and condition. Pressure, corrosion, pipe age, and prior repairs also deserve review.
A reliable repair process normally follows these core steps:
- Find the true source before opening walls, ceilings, or flooring.
- Identify the failed part and likely cause behind the problem.
- Choose a repair matching pipe material, condition, and leak location.
- Test the repaired line before closing the nearby work area.
This process reduces guesswork and avoids fixing only surface symptoms. It also helps prevent another leak from appearing nearby soon.
Common Causes of Water Leaks Inside Homes
Home leaks often begin with wear, pressure, movement, or corrosion. Aging pipes can develop weak spots after years of service. Loose fittings may also begin dripping after repeated temperature changes. High water pressure can place extra strain on valves and joints.
Appliance hoses and fixture lines can also weaken over time. Toilets, sinks, washing machines, and refrigerators contain common leak points. Frozen pipes may crack when trapped water expands during winter. Clogs can also cause backups that send water outside drains.
Several causes deserve closer attention during any leak assessment:
- Corrosion can thin pipe walls and create small hidden openings.
- Worn seals can allow slow drips around plumbing connection points.
- High pressure can strain valves, fittings, joints, and supply lines.
- Old hoses can split and release water very quickly indoors.
Finding the cause matters because one repair may not solve everything. Repeated leaks can point toward wider pipe or pressure problems.
Early Signs That Should Not Be Ignored
Hidden leaks often show indirect signs before water becomes visible. A higher water bill may reveal unusual use inside plumbing. Musty odors can appear when moisture stays trapped behind surfaces. Stains may develop on walls, ceilings, cabinets, floors, or trim.
Running water sounds can also appear while fixtures remain closed. Low pressure may develop when a hidden supply line leaks. Damp flooring can signal moisture traveling from another nearby location. Mold growth may also follow long periods of trapped moisture.
Early water leak detection can limit how far moisture spreads. It can also reduce the amount of material needing repair.
How Water Leaks Affect Home Materials Over Time
Water affects each building material inside homes in different ways. Drywall can stain, soften, swell, or lose surface strength quickly. Wood floors may cup, warp, or change around wet areas. Cabinets can swell when moisture enters unfinished edges or joints.
Ceiling materials may discolor before the leak source becomes obvious. Insulation can hold moisture long after plumbing stops leaking nearby. Subfloors may weaken when wet conditions continue for extended periods. Framing can also remain damp inside enclosed wall cavities afterward.
These effects explain why quick plumbing work alone may not finish everything. Wet materials may still need drying, testing, or further assessment.
DIY Checks Versus Professional Leak Repair
Homeowners can make several simple checks before calling a plumber. They can review the water meter and inspect visible connections. They can also close a fixture valve when leakage is clear.
Some situations need professional leak detection and repair services instead. Hidden wall leaks, slab leaks, and repeated failures need better testing. Plumbing professionals may use moisture meters, pressure tests, or acoustic tools. Those methods help locate leaks without opening large property areas.
Emergency repair becomes more important when water cannot be controlled. The main shutoff may be needed during active supply leaks. A qualified plumber can then locate, repair, and retest plumbing.
Reliable water leak repair protects more than the failed plumbing part. It limits moisture spread, supports proper drying, and reduces repeat problems. Early action also helps control repair costs before wider work develops.
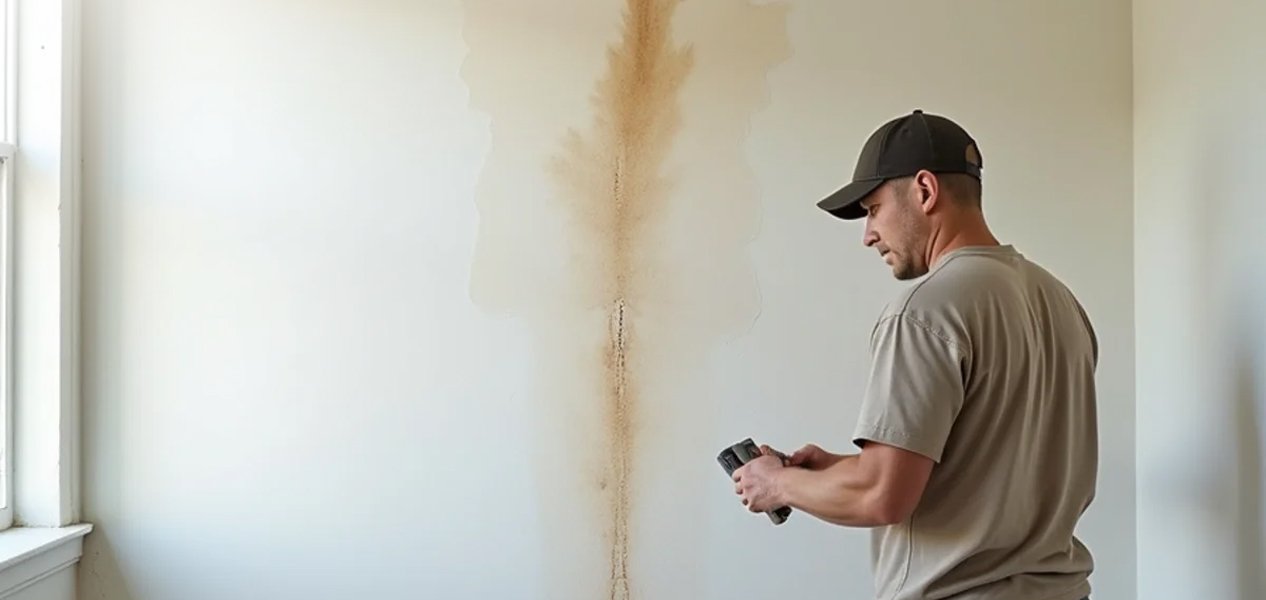
How to Detect Hidden Water Leaks Before Damage Spreads
Hidden leaks often develop quietly behind walls, floors, or plumbing fixtures. Early detection helps limit moisture spread before repairs become more complex. The first goal is finding evidence before opening large building areas. Good detection separates a visible symptom from the true leak source.
Warning Signs That Point Toward a Hidden Leak
Many leaks reveal themselves through small changes around the home. A rising water bill can suggest water is escaping somewhere unseen. Musty odors may develop when moisture remains trapped behind finished surfaces. Stains can also appear on ceilings, walls, cabinets, or flooring.
Other warning signs can narrow the search without exposing hidden plumbing. Listen for running water when faucets and appliances remain completely off. Check whether water pressure suddenly drops at several nearby fixtures.
Several clues deserve attention during a basic home inspection:
- Damp spots return after surfaces seem completely dry for several hours.
- Ceiling stains grow wider without obvious roof or drain problems nearby.
- Flooring feels soft, raised, or warmer than nearby dry sections.
- The water meter moves while every household fixture remains fully closed.
These signs do not always prove one specific leak location. They show where further testing may help identify the source.
What Walls, Ceilings, and Floors Can Reveal
Leak signs change depending on where trapped water finally appears. Wall stains may form below leaking supply lines or nearby fixtures. Ceiling marks can come from plumbing several feet above them. Floor changes may point toward appliance, drain, or slab leaks.
Water can travel along framing before reaching a visible surface. That movement explains why stains sometimes appear far from failure.
Simple Checks Homeowners Can Make First
Homeowners can begin with visible plumbing before using advanced detection methods. Check under sinks, behind toilets, and around appliance supply lines. Inspect shutoff valves, exposed fittings, hoses, and nearby cabinet surfaces. Small mineral marks can reveal slow leaks around older connections.
The water meter can also provide an early hidden-leak clue. Turn off normal water use throughout the home before checking. If the meter keeps moving, hidden water loss may exist. This check still cannot show where the leak is located.
DIY detection works best when plumbing remains visible and accessible. Concealed leaks usually need better tools and more precise testing.
How Professional Leak Detection Finds the Real Source
Professional detection becomes useful when visible checks do not explain moisture. A plumber may combine several tools instead of guessing one location. Moisture meters can show where building materials hold trapped water. Thermal imaging can reveal temperature patterns linked with hidden moisture.
Acoustic tools may help locate pressurized leaks inside concealed water lines. Pressure testing can show whether one plumbing section loses pressure. Line tracing also narrows piping routes before walls or floors are opened.
Professional methods may combine several tools during one leak investigation:
- Moisture meters measure damp areas inside walls, ceilings, or flooring.
- Thermal cameras reveal temperature changes linked with hidden moisture patterns.
- Acoustic equipment listens for pressurized water escaping behind solid surfaces.
- Pressure tests help isolate plumbing sections that are losing water.
Using the right tools can reduce unnecessary cutting during diagnosis. That often lowers repair labor and limits extra finish restoration.
How Smart Detection Technology Supports Home Protection
Smart sensors can warn homeowners when moisture reaches specific locations. Whole-home monitors can identify unusual flow before puddles become visible. Automatic shutoff valves may stop incoming water after abnormal use.
These tools support early detection but do not repair failed plumbing. Permanent repair still requires finding and correcting the failed component.
Water Leak Detection and Water Leak Repair Are Different
Detection identifies where water escapes and what system is affected. Repair corrects the pipe, fitting, valve, seal, or connection afterward. A smart sensor may warn about moisture without fixing plumbing. An automatic shutoff can stop water without repairing the failure.
This difference matters when comparing detection cost with repair cost. Detection may seem like an added service before repair begins. However, accurate location can prevent opening the wrong wall section.
When Professional Detection Saves Money
Professional leak detection can reduce costs when the source stays hidden. Finding the correct location limits unnecessary work around nearby finishes. Early action can also reduce moisture exposure inside walls and floors.
Reliable water leak repair starts with accurate source identification. The repair should address both the failure and its contributing cause. Afterward, the plumbing should be tested before surfaces are closed. That sequence helps limit repeat leaks and added property damage.
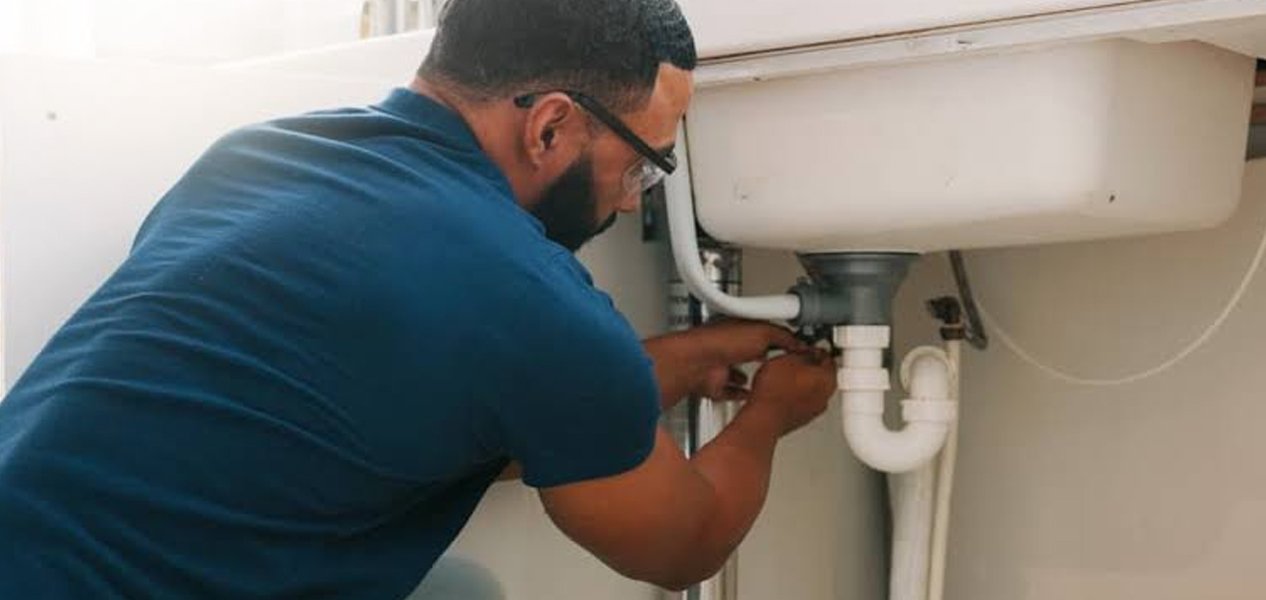
How Early Leak Repair Helps Prevent Larger Plumbing Problems
Small plumbing leaks can grow quietly when homeowners delay needed repairs. Early action limits moisture spread and reduces strain on nearby plumbing. It also gives plumbers time to correct the underlying cause. That approach prevents one weak connection from creating wider household problems.
Why Small Leaks Should Be Repaired Early
A slow drip may seem minor during normal daily routines. However, repeated moisture can affect cabinets, walls, floors, and fittings. Small leaks may also signal pressure, corrosion, or seal problems. Those causes can affect nearby parts when they remain unresolved.
Early repair often requires less work than delayed plumbing service. A worn connector might only need replacement during early failure. Continued leaking can eventually affect nearby materials and plumbing joints.
Reliable water leak repair also includes checking why failure occurred. Fixing the source without correcting pressure may invite another leak.
Build a Simple Water Leak Prevention Routine
Regular home checks can reveal early changes before larger problems develop. Homeowners should inspect exposed plumbing several times during each year. Focus on areas where water connections remain active every day.
A practical home inspection can include these basic checks:
- Look beneath sinks for moisture, stains, or mineral deposits.
- Check toilet connections for dampness around valves and supply lines.
- Inspect appliance hoses for cracks, swelling, rust, or loose fittings.
- Watch exposed pipes for corrosion, drips, or unusual surface changes.
These simple checks help identify problems while repairs remain manageable. They also create a useful record of changing plumbing conditions.
Control Water Pressure Before It Causes Added Wear
High water pressure can strain valves, fittings, hoses, and pipe joints. That extra force may shorten the life of weaker components. Pressure problems can also contribute to repeated leaks across plumbing systems.
A plumber can test household pressure when failures happen repeatedly. A pressure regulator may need service when readings remain excessive. Correct pressure helps reduce unnecessary stress during normal water use.
Protect Plumbing During Winter and Cold Weather
Cold weather can create another common source of household leaks. Water expands when freezing occurs inside exposed plumbing lines. That expansion can crack pipes or weaken existing plumbing joints.
Before winter, inspect pipes located near unheated household spaces. Garages, crawl spaces, and exterior walls often need extra attention. Outdoor hoses should also be disconnected before freezing temperatures arrive.
Useful winter prevention steps include several simple household actions:
- Insulate exposed pipes in colder parts of the home.
- Repair slow drips before temperatures drop below freezing.
- Keep indoor heat running during extended cold weather periods.
- Follow local guidance when protecting outdoor plumbing fixtures.
Seasonal preparation works best before freezing conditions actually begin.
Check Plumbing Before Leaving for Vacation
Leaks can cause wider damage when nobody notices early warning signs. Before traveling, inspect visible connections and appliance supply lines carefully. Check toilets, sinks, washing machines, and refrigerator water connections.
Knowing the main water shutoff location also saves valuable time. Some homeowners choose to close the water before longer trips. Others use approved vacation settings based on household plumbing needs.
Smart leak devices can provide another layer of monitoring. Sensors can send alerts when moisture reaches selected locations. Whole-home monitors may also identify unusual water flow patterns remotely.
These tools support prevention but cannot replace permanent plumbing repairs. A sensor may detect water without correcting the failed connection.
Sealants Are Not a Substitute for Proper Repairs
Temporary sealants can sometimes slow very minor visible seepage briefly. They should not replace correct repair for damaged plumbing parts. Hidden cracks, failed joints, and corroded pipes need proper assessment.
Repeated use of temporary products can also hide developing problems. A plumber should inspect leaks that return after temporary measures. The goal should remain permanent correction rather than repeated patching.
Combine DIY Checks With Professional Plumbing Inspections
Homeowners can handle visual checks without opening concealed plumbing areas. Professional inspections become more useful when leak signs keep returning. Plumbers can evaluate pressure, pipe condition, valves, and hidden connections.
Routine inspection becomes especially valuable in older plumbing systems. Aging materials may develop several weak areas during similar periods. Finding those patterns early can support better repair planning.
Good water leak prevention combines inspection, early repair, and pressure control. Seasonal care and smart monitoring can strengthen that prevention plan. Together, these steps reduce repeat leaks and limit future property damage.
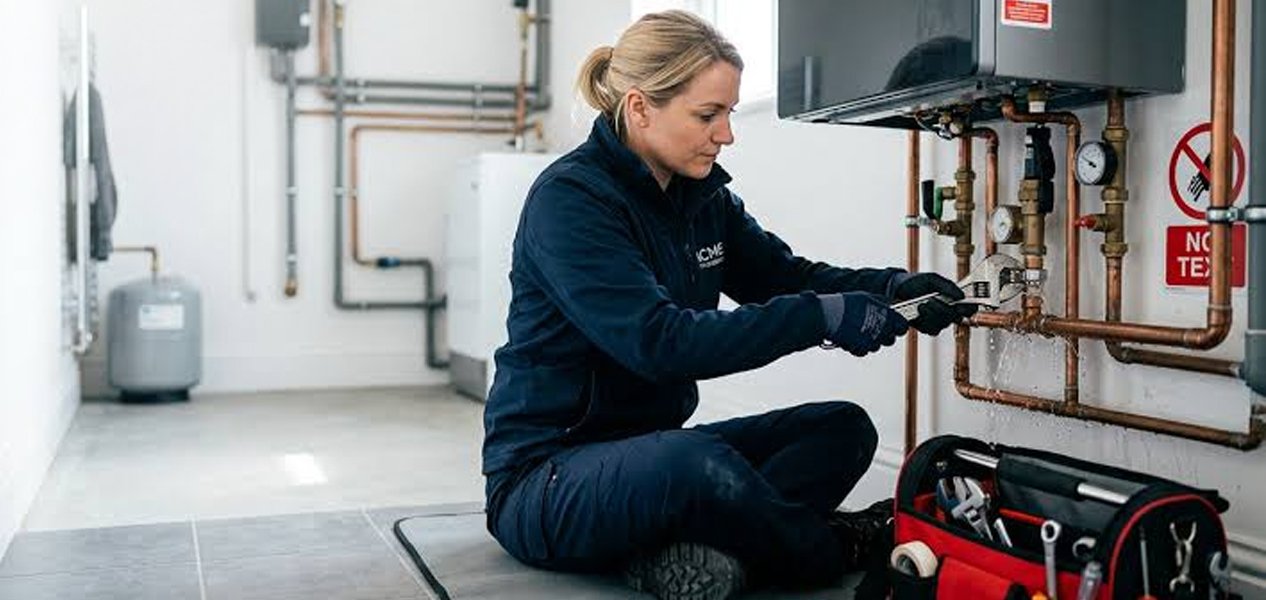
Emergency Water Leak Repair: What Homeowners Should Do First
A fast plumbing response can reduce how far escaping water travels. The first minutes matter when water keeps moving through the home. Homeowners should focus on control, observation, and clear communication first. Permanent repair comes after the active water source is contained.
When Does a Water Leak Become an Emergency?
Not every leak needs after-hours plumbing service or immediate evacuation. Some problems remain controlled while homeowners schedule normal service hours. Other leaks can spread quickly or reach sensitive building areas.
Treat a leak as urgent when these conditions appear:
- Water keeps flowing after a fixture valve is completely closed.
- Moisture reaches outlets, wiring, panels, or powered household equipment nearby.
- A ceiling begins sagging while water spreads through several rooms.
- A hidden supply leak causes fast pressure loss throughout the home.
- Water continues entering floors, walls, cabinets, or lower building levels.
These conditions increase the need for immediate water control measures. A slow faucet drip usually allows more time for scheduled service. Leak location, water volume, and property exposure should guide urgency.
What to Do Before Calling an Emergency Plumber
Start by identifying whether the leak comes from one fixture. A toilet, sink, or appliance may have its own valve. Closing that valve can stop water without shutting everything down.
Use the main shutoff when the source remains hidden or uncontrolled. Avoid standing water near electrical panels, outlets, or powered devices. Move belongings away from wet areas when doing so remains practical.
Before calling, collect details that help the plumber respond effectively:
- Note where water first appeared and where it traveled afterward.
- Describe whether water flow remains steady, intermittent, or fully stopped.
- Mention recent repairs, frozen pipes, pressure changes, or appliance use.
- Share visible changes around walls, ceilings, floors, cabinets, or trim.
Clear details help the plumber prepare for likely testing needs. They can also help determine whether after-hours service is necessary.
Temporary Control Is Not Permanent Leak Repair
A temporary fix may slow water until professional service arrives. Closing valves, catching drips, or protecting nearby surfaces can help. These steps should not replace proper plumbing diagnosis and repair.
Tape, sealant, or improvised patches may hide a larger problem. They can also make later source inspection harder and less accurate. Reliable water leak repair should correct the failed plumbing component itself.
How Fast Should a Water Leak Be Repaired?
Active leaks should receive attention as soon as conditions allow. The needed response depends on flow rate and affected materials. A pressurized supply leak deserves faster attention than minor seepage.
Hidden leaks also need timely inspection without visible flooding nearby. Water can move behind drywall, flooring, cabinets, insulation, and framing. Moisture may remain trapped after the visible surface seems dry.
Early repair can reduce several types of added property work:
- Less drywall or flooring may require removal after proper drying.
- Cabinets and trim may avoid longer periods of moisture exposure.
- Drying work may remain limited to smaller affected building areas.
- Secondary repairs may stay simpler after quick source control efforts.
Why Delaying Leak Repairs Can Cost More
Repair delays can increase both plumbing and property restoration costs. Water may spread farther while the original failure stays active. Materials that remain wet may swell, stain, warp, or soften.
A hidden leak can also increase household water use steadily. Repeated moisture may create musty odors inside enclosed building areas. Longer exposure can further increase drying and material replacement needs.
Emergency service may cost more than scheduled weekday plumbing work. After-hours labor, travel, and urgent response can raise overall pricing. However, waiting may cost more when active water keeps spreading.
Emergency Repair Versus Regular Plumbing Service
Emergency plumbing focuses first on stopping uncontrolled water loss inside homes. The technician may isolate the line before completing permanent repair. Scheduled service usually fits controlled leaks without active property exposure.
A good emergency response should still include proper diagnosis afterward. The repaired line should also be tested before work closes. Moisture around nearby materials may require a separate drying assessment.
Fast action works best when it follows a clear sequence. Control the water, protect the area, then locate the source. After repair, confirm the plumbing holds, and moisture stops spreading.

How Water Leak Repair Protects Your Home From Lasting Damage
Water can move far beyond the place where leakage first appears. Hidden moisture may reach floors, walls, ceilings, and structural materials. Early repair limits that spread before larger property work becomes necessary. It also helps protect finished surfaces and concealed building materials.
How Water Leaks Can Affect Your Home’s Foundation
Leaks near slabs or underground plumbing deserve careful attention early. Escaping water can keep surrounding soil wet for long periods. Repeated soil changes may affect support beneath parts of foundations. Cracks or floor changes can also require closer professional inspection.
A foundation concern does not always confirm an underground plumbing leak. However, unexplained moisture and water use can support further testing. Slab lines may require pressure testing or other location methods. Exact detection helps avoid opening unnecessary sections of finished flooring.
Several warning signs may justify a closer foundation-area inspection:
- Warm floor areas may appear above certain leaking water lines.
- Unexplained damp spots can develop near slabs or foundation walls.
- Water bills may rise despite normal household water use patterns.
- Nearby flooring may change without any visible surface spill.
Correcting the source early helps reduce continued water movement below surfaces.
Can Water Leaks Lead to Mold Growth?
Mold can develop where building materials remain damp for extended periods. Hidden wall cavities can hold moisture after surfaces appear dry. Insulation, drywall, and wood can also retain trapped water.
Stopping the leak is therefore only the first important step. Remaining moisture should also be checked after plumbing work finishes. Some affected areas may need controlled drying before surfaces close.
Visible mold or persistent odors may require further professional assessment. Larger moisture problems can also involve separate restoration or remediation work. Leak repair and mold cleanup address different parts of damage.
What Water Does to Walls and Ceilings
Drywall absorbs moisture quickly when plumbing leaks remain active nearby. Wet areas may stain, swell, soften, or lose normal strength. Paint can also bubble when moisture collects behind finished surfaces.
Ceiling leaks often appear far below their true plumbing source. Water may travel along pipes, joists, or framing before dripping. That movement makes source detection important before opening ceiling sections.
Look for several changes around walls and ceilings:
- Brown or yellow stains may grow after repeated moisture exposure.
- Soft drywall can signal water trapped behind finished wall surfaces.
- Peeling paint may develop when moisture remains behind painted areas.
- Sagging ceiling material deserves prompt inspection before further spreading occurs.
How Leaks Affect Floors, Basements, and Crawl Spaces
Hardwood flooring may swell, cup, or warp after water exposure. Subfloors can also hold moisture beneath otherwise dry-looking surfaces. Tile floors may hide leakage traveling through lower building layers.
Basements and crawl spaces can conceal plumbing leaks for longer periods. Damp wood, musty odors, or wet insulation may appear first. These areas should be included during a complete leak inspection.
Long moisture exposure can also affect cabinets, trim, and stored belongings. The repair plan should consider both plumbing and nearby materials.
Why Early Repair Protects Long-Term Home Value
Repeated stains, warped flooring, and visible repairs can affect buyer confidence. Unresolved moisture can also make future inspections more complicated. Good records of repairs can help document completed plumbing work.
Reliable water leak repair supports long-term property care through accurate diagnosis. The goal is to stop water before wider damage develops nearby. Post-repair testing also confirms the plumbing problem was actually corrected.
Make Leak Checks Part of Regular Home Care
Routine inspections can catch small plumbing changes much earlier. Check visible pipes, appliance lines, valves, and damp-prone areas regularly. Older homes may benefit from more detailed plumbing inspections over time.
Home protection works best when detection and repair stay connected. Finding leaks early limits moisture exposure and reduces repeat property problems. Proper repair also helps preserve finished spaces and hidden building materials.
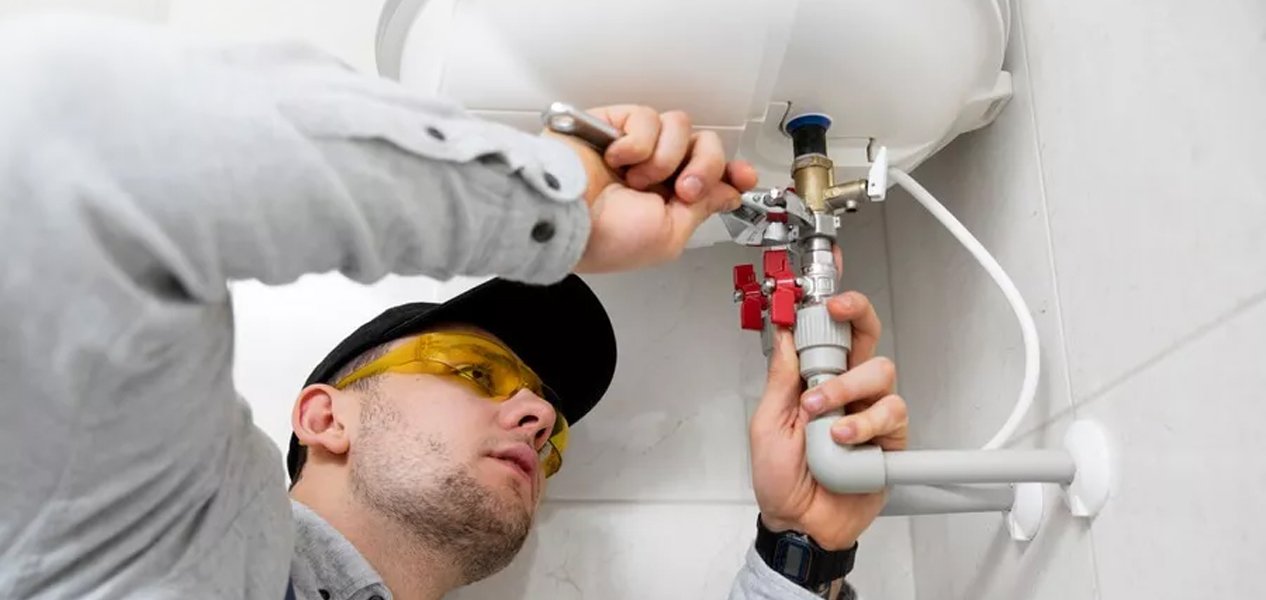
Water Leak Repair Costs, Value, and Long-Term Savings
Water leak repair costs vary because every plumbing problem develops differently. A visible faucet leak usually costs less than concealed pipe damage. Location, pipe material, access, labor, and damage level shape pricing. That makes a clear inspection more useful than guessing costs online.
What Determines the Cost of Water Leak Repair?
Professional pricing usually starts with finding the exact leak source. Easy access can reduce labor because fewer surfaces need opening. Hidden leaks often require added testing before repair work begins. Pipe material also changes the tools, fittings, and labor required.
Several cost factors can change the final estimate significantly:
- Leak location affects access time and nearby finish removal costs.
- Pipe material influences repair methods, fittings, tools, and overall labor requirements.
- Hidden moisture may add drying, drywall, or flooring repair expenses.
- Emergency service can include higher labor or after-hours response charges.
Current 2026 guides place pipe leak repairs between $150 and $4,700. Standard pipe repairs often fall between $250 and $850 per pipe. Bathroom leak repairs commonly range from $150 to $600 professionally. Slab leaks can cost far more because detection and access become harder.
Why Early Leak Repairs Usually Cost Less
Early repairs often limit both plumbing work and property restoration needs. A small fitting leak may require one focused plumbing repair. Waiting can let water reach drywall, flooring, cabinets, or insulation. Those added repairs can quickly outweigh the original plumbing expense.
Early action can also reduce wasted water and rising utility bills. A hidden leak may continue using water without obvious puddles nearby. Fixing the source sooner stops that ongoing household water loss.
Consider these savings that early repair can support:
- Smaller wet areas usually need less drying and finish replacement.
- Faster repairs can reduce water waste from ongoing hidden leaks.
- Early diagnosis may prevent one weak part from causing wider damage.
- Prompt service can avoid some costly after-hours emergency repair charges.
Repair Cost Versus Water Damage Restoration
Plumbing repair and water damage restoration cover different work stages. The plumber fixes the failed pipe, valve, fitting, or connection. Restoration handles remaining moisture and damaged materials after leakage spreads. Both services may be needed when water reaches finished building areas.
Current 2026 guides place water restoration between $450 and $16,000. Typical projects vary based on water type and affected material area. Drywall, flooring, ceilings, and mold treatment can raise restoration costs. That comparison shows why early plumbing repair can protect household budgets.
Is Professional Water Leak Repair Worth the Investment?
Professional repair brings more value when the leak source remains hidden. Accurate detection can reduce unnecessary wall, ceiling, or flooring removal. It can also reveal whether pressure or corrosion caused failure. That information helps prevent repeated repairs around the same plumbing line.
Low pricing alone should not decide which repair option wins. A cheap patch may cost more when the underlying cause remains. Compare diagnosis, repair method, testing, access work, and warranty terms. Written estimates make those differences easier to review before approval.
Insurance, Out-of-Pocket Costs, and Emergency Pricing
Homeowners insurance may treat sudden water damage differently from wear. Coverage depends on the policy, cause, exclusions, and maintenance history. The plumbing repair itself may not receive the same coverage. Homeowners should document damage and review their policy before assuming payment.
Emergency service can also increase your out-of-pocket plumbing expenses significantly. Current guides place some emergency call-out fees around $100 to $300. After-hours pricing varies by region, company, timing, and repair complexity. A controlled leak may allow scheduled service at lower overall cost.
Reliable repair value comes from stopping both leakage and repeat failure. A strong estimate should explain diagnosis, repair, testing, and added work. Early action usually keeps more of the budget focused on plumbing. Delayed repairs can shift spending toward drying and property restoration instead.
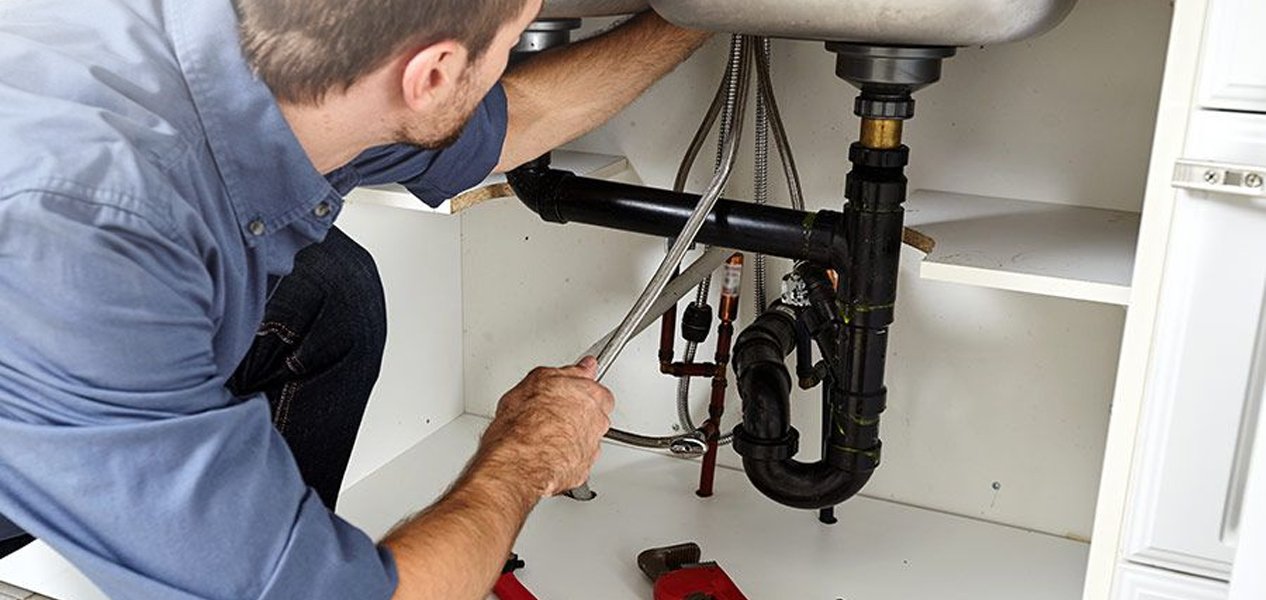
Plumbing Maintenance That Helps Prevent Water Leaks
Regular plumbing care helps small problems stay visible before leaks develop. Pipes, valves, seals, and hoses change gradually during normal household use. Routine checks can reveal wear before water reaches finished building areas. A simple maintenance schedule also makes future plumbing needs easier to plan.
What an Annual Plumbing Inspection Should Cover
A yearly plumbing inspection should review both visible and concealed risk areas. Start with fixtures, exposed pipes, shutoff valves, and appliance connections. Look for moisture, corrosion, mineral deposits, staining, or loose fittings. These signs can reveal slow changes before active dripping becomes obvious.
A practical yearly inspection should include several important household areas:
- Check sink cabinets for moisture, stains, corrosion, or swollen materials.
- Inspect toilet valves and supply lines for slow seepage nearby.
- Review washer and dishwasher hoses for cracks, bulges, or rust.
- Check exposed pipes for corrosion, loose joints, or mineral buildup.
- Test household pressure when repeated leaks or fixture problems appear.
Older plumbing may need closer review than newer household systems. Previous leak locations should also receive extra attention during yearly checks.
When Is the Best Time to Inspect Plumbing?
Plumbing inspections can happen anytime, but seasonal timing adds useful benefits. Spring offers a good chance to check winter-related pipe changes. Fall provides time to prepare exposed plumbing before freezing weather.
Inspections also make sense before long vacations or major home projects. A planned absence can leave small leaks unnoticed for several days. Checking connections beforehand reduces the chance of returning to hidden moisture.
Professional inspection timing may also depend on plumbing age and history. Homes with repeated leaks may benefit from more frequent system checks. A plumber can recommend timing after reviewing pressure and pipe condition.
Seasonal Plumbing Maintenance for Spring and Summer
Spring maintenance should focus on plumbing affected by colder winter conditions. Inspect outdoor faucets, exposed lines, and previously frozen plumbing sections carefully. Check basements and crawl spaces for new moisture or staining.
Summer often brings heavier water use from guests and outdoor activities. That increased use makes fixture and hose checks more useful. Appliance lines should also receive attention before extended summer travel.
Useful warm-weather maintenance steps include these simple household checks:
- Inspect outdoor faucets for drips after winter temperatures have passed.
- Review appliance hoses before periods of heavier household water use.
- Check basement areas for damp spots after seasonal rainfall increases.
- Locate the main shutoff before leaving home for vacation.
These checks can reveal problems before busy seasonal use increases strain.
Fall and Winter Plumbing Maintenance
Fall maintenance should prepare vulnerable plumbing before temperatures begin dropping. Disconnect outdoor hoses and inspect exterior faucets for existing leaks. Pipes near garages, crawl spaces, or exterior walls need closer review.
Winter inspections should watch for freezing risks and unusual pressure changes. Cold pipes can contract, while frozen water may stress weak sections. A small existing crack can become more noticeable during cold weather.
Keep indoor temperatures steady during long periods of freezing conditions. Follow local guidance for exposed plumbing in colder climate zones.
DIY Maintenance Versus Professional Plumbing Inspection
Homeowners can handle many visual checks without opening walls or floors. Looking beneath sinks and around fixtures requires little special equipment. Recording leak locations can also help track changes between inspections.
Professional inspections become more useful when problems remain hidden or repeat. Plumbers can assess pressure, pipe condition, valves, and concealed leak patterns. Specialized testing may also identify water loss without broad surface removal.
A professional visit can provide added value in older homes. It may reveal several weak components during one planned inspection.
How Routine Maintenance Reduces Future Leak Repairs
Preventive maintenance works by finding wear before complete component failure occurs. Replacing a weak hose early can prevent sudden water release. Tightening or replacing a failing connection can stop gradual moisture spread.
Regular checks also create a clear history of plumbing condition. That history helps homeowners recognize new changes instead of guessing later. Good maintenance cannot prevent every unexpected failure from ever happening. However, it improves early detection and supports faster repair decisions.
FAQs
How Can I Tell If a Water Leak Is Hidden?
Watch for rising bills, musty odors, damp surfaces, or pressure changes. Running water sounds may also appear while every fixture remains closed.
What Makes Water Leak Repair Reliable?
Reliable repair finds the true source before correcting the failed plumbing. It also addresses the cause and confirms leakage has fully stopped.
Is Water Leak Detection Different From Water Leak Repair?
Detection locates where water escapes and identifies the affected plumbing area. Repair then corrects the failed pipe, valve, fitting, or connection.
When Should I Call a Plumber for a Water Leak?
Call when leakage remains active, hidden, repeated, or difficult to locate. Professional help also makes sense when walls or floors stay damp.
Can a Small Water Leak Cause Major Home Damage?
Small leaks can spread moisture through drywall, cabinets, flooring, and insulation. Damage often grows when hidden moisture remains unnoticed for longer periods.